Portfolium is a clean and flexible WordPress grid-based portfolio theme designed in a modern & minimalist style. Portfolium is ideal for designers, artists, photographers, and other creative specialists who require a professional portfolio theme. Portfolium theme is coded in valid CSS and HTML and compatible with all browsers. It supports all WordPress 3.0 features and gives you extra flexibility.
Neat and flexible grid-based theme for WordPress CMS, Portfolium can be used on portfolio web-sites or blogs. If you are designer, artist, photographer, or other creative specialist you can take a full advantage of Portfolium’s fresh minimalistic design that is perfect as is or as a foundation for your custom design. If you don’t need to showcase any works and just want to share some content, you can switch theme to blog style in a few seconds.
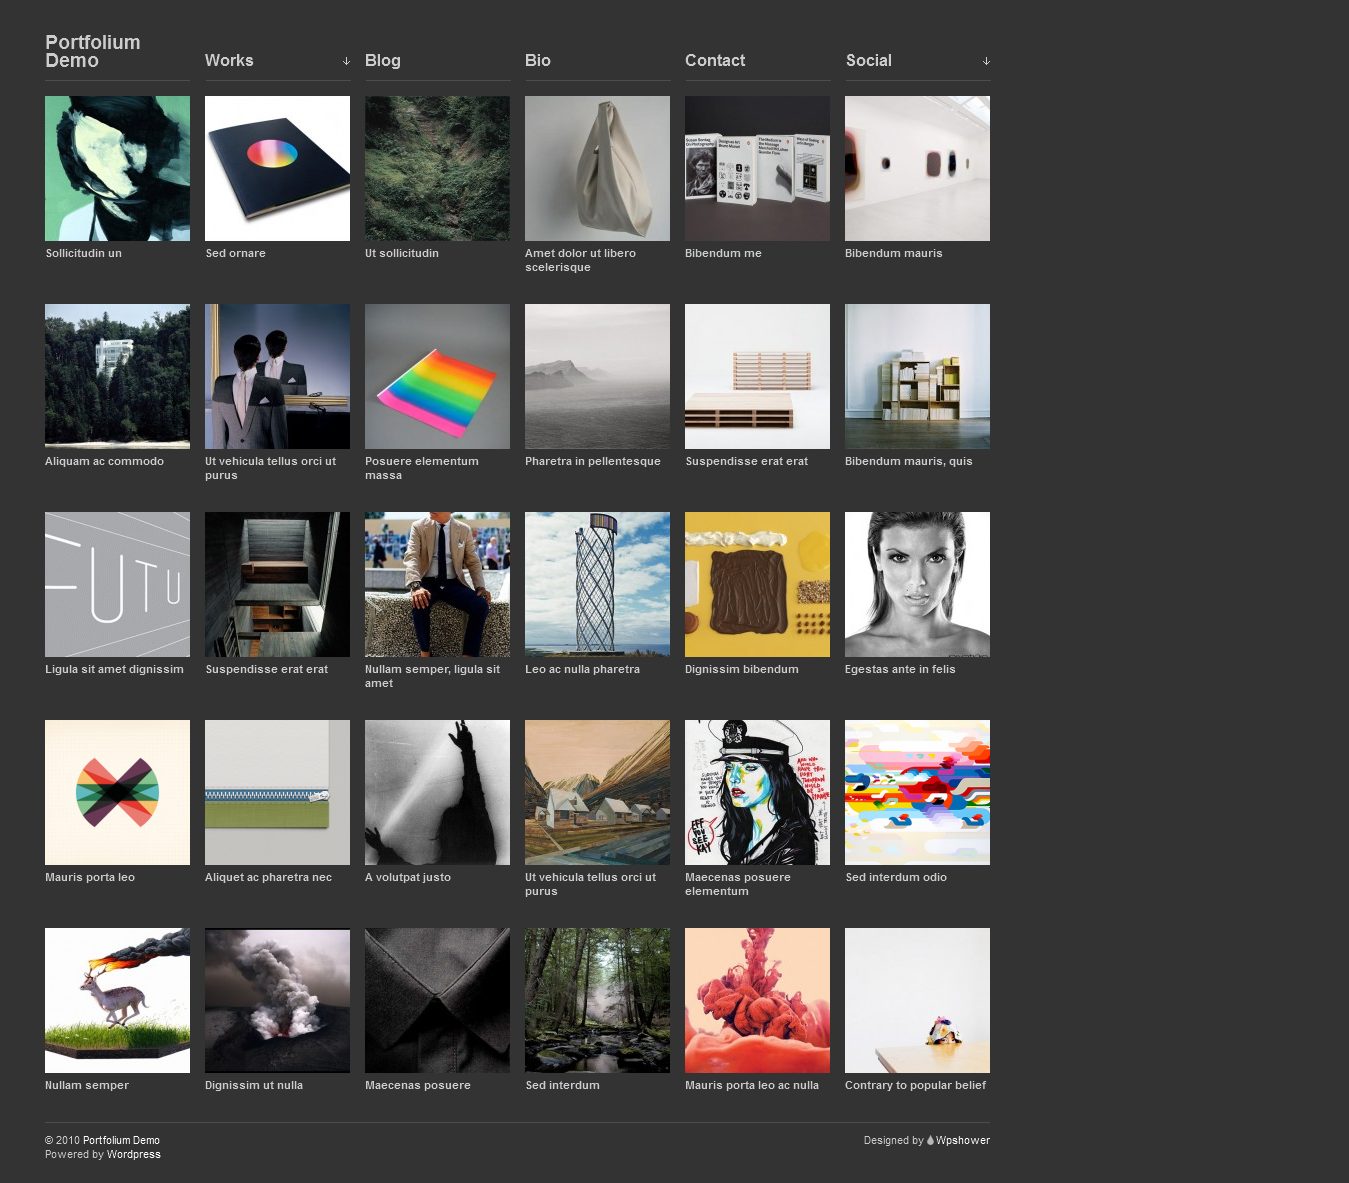
Portfolium is a WordPress theme best suited for all kind of web publishers . Is a clean and modern theme that is perfect for contrasting images, and colorful designs or imagery. In this document you will discover all the cool features and how easy it is to customize it for your needs.
Please take some time to review this document, I am pretty sure it will resolve your most frequent asked questions, and it will help you to obtain the same configuration you can see on the live demo.

If you find something wrong or simply want to suggest some extra features, feel free to send me a PM via ThemeForest clicking here I will be happy to hear your thoughts.
Plugins Used:
(not necessarily) WP-PageNavi – http://wordpress.org/extend/plugins/wp-pagenavi/
Theme setup:
• Crate page for blog (eg. Blog).
• Crate page for portfolio (eg. Home)
• Got to Settings – Reading and set this parameters:
? Front page displays – A static page (select below)
? Front page: Home
? Posts page: Blog
• Create portfolio categories (eg. Works)
• Create one sample post
• Set up Menus
Setup and installation
This theme has been developed on Wordpres 2.8.6, if you haven’t updated yet your WordPress, this is the right time since WP is always evolving and releasing updates. It hasn’t been really tested on former version. To download WordPress 2.8.6 click here and here you have a quick guide on how to install WordPress.
I don’t offer any warranty and can’t be held responsible from any WordPress break after uploading this theme if you don’t follow these guidelines. It is always safe to make a backup of your files first, especially if you have not updated your WordPress. (However I never had such issues before =)
Note that this is the first version of this WordPress theme with the HD Panel and I will be submitting some improvements shortly on ThemeForest, based on your feedbacks and suggestions. (Feel free to ask me what features you would like to have for this or further themes regarding the HD Panel)
Installing the theme
After extracting the file you just downloaded, copy the /portfolium folder and paste it or upload it on your server under /wp-content/themes/ then login to your admin panel and go to the Appearance»themes and activate the theme, you should have something like this:


Installing plugins (optional)
There is one optional pluggin for the contact page. This is what you would need to download and save/upload under the /wp-content/plugins/ folder:
- Contact Form 7 (optional): Download
* After uploading to the specified folder above, you need to activate the pluggin from the Pluggins options on your WP installation.
Contact Form 7 – optional plugin
If you want to display a contact form on your contact page this is the plugin I recommend, is quite easy to implement and highly customizable. All you have to do is activate the pluggin and go to the edit options of the plugin, there you will find a shortened piece of code that you will need to paste into your contact page:[contact-form 1 "Contact form 1"] or if you want to get the very same styling of the demo then you will need to wrap that short code as follows: <div id="contact-wrapper">[contact-form 1 "Contact form 1"]</div>, you can do this either from the Contact plugin options or from your contact page).


Allright, that’s all we need regarding the plugins, let’s move forward!
General Settings
I like to provide flexible themes however in this one we need to be able to assign Search Engine Friendly page names, and I highly recommend you to do the following:
- Go to the settings tab on the WordPress panel.
- Then refer to the Permalinks settings and select the common settings to be Month and Name
- Save the changes
This will allow us to have pages like: www.yourwebsite.com/about, www.yourwebsite.com/contact and that way retrieve easily the home page slider content without having to struggle with page id’s.
Adding pages – using the custom templates
On the theme I have provided several templates to give a higher level of customization. The following themes are selectable from the Attributes panel when you are creating a new page:
- Blog Listing Template: This is the one you will need to select for your main blog page.
- Full Width Template: This is the template you may want to use if you wish to have a page without displaying the sidebar.
- Portfolio Template: This one, of course, will be required for the portfolio page.

* Preview of the attributes panel
Remember that when creating pages you should give them an “order” from the Attributes panel in order to make them appear the way and order you want.
Using the brand new HD Panel

I am quite excited to be releasing this theme options panel, I spent a lot of hours on it to make sure it works perfectly and at the same time looks appealing. I think is always better to be pleased with an interface and work on it than having a confusing and messy interface ^^.
Ok Basically what the HD Panel does is to give you a full control over the theme, and you won’t have to touch any template file to customize it. The interface is so easy to use that I won’t have to go through all the options but list them as follow (since they are so self-explanatory):
General Settings


- Change the theme CSS in one click.
- Upload or specify the URL for your custom logo
- Upload or specify the URL for your custom favicon
- Insert your tracking code (Google Analytics or other)
- Change the Footer copyright text
- Add your RSS URL
Note that you will have custom1.css and custom2.css that I have included if you would like to apply some changes to the theme. You will be able to find those files under the /css folder.
Navigation Settings
- Exclude pages from navigation
- Exclude categories from sidebar/navigation (works only with the HD Panel Category widget)
- Enable/disable the dropdown menu (top navigation)
Layout Settings
- Enable disable timbthumb.php image resize script for blog posts
- Exclude portfolio posts from the blog page
- Specify the size for the thumbnails
- Choose which items are shown on the post-meta (categories, comments, author, etc.)
Homepage Settings
- Specify how many posts to show on the home page’s sidebar
- Edit the text for intro, about us and the home call out section (We build nice and powerful…text)


Ads Settings
Manage your Ads with a couple of clicks specifying the URL of your image and where it should be pointing too, you can decide as well if you wish to make the ads rotate and if they open on a new window or not =). To display the Ads you need to add on the sidebar the HD Panel Ads widget, under appearance » widgets
Home page slider
This is another cool feature here. let’s review how to add images to your slick home page slider.
- Create a new page with name of “homeSlider” – This is EXTREMELY IMPORTANT if you want the slider to work.
- Make sure you exclude this page from the navigation using the HD Panel option as discussed above.
- Upload 433px X 247px images to your media library or directly into the page content.
- Wrap your first image using the following code:
<li ><img src="path-to-your-image" alt="" width="433" height="247" /></li> - Wrap your other images using the following code:
<li><img title="" src="path-to-your-image" alt="" width="433" height="247" /></li>
The size of the images are in my opinion well proportioned compared to the overall layout, however if you wish to change the size of the home page slider images you will need to open the karmicFlow.css on the /css folder of the theme and play around with the width and height of the container until you’re satisfied.
Additionally you have the option to wrap the images within an anchor tag if you want to make it link to something. This is the HTML markup you will need to include on the page:
<li><a href="path"><img src="path of image" alt="description of the image"></a></li>
Portfolio & Blog
The portfolio page is automated, it will retrieve all your portfolio items from the blogs. the only thing you need to do is to create a blank page and select the Portfolio Template from the Attributes panel as discussed above.
Posts>Categories tab on your admin panel and create the category. (make sure is Portfolio with “P” in CAPS.)


Finally Create your blog page making sure you select the Blog Listing Template from the Attributes Panel, you should have something like this:


Okay now your ready to go for you first Portfolio or Blog post. Let’s see how it works:
Blog Posts
To create a single blog post go under Posts » Add new. Select the categories you want and insert a description on the excerpt field, this will be the text displayed on the home page for the latest news. (Remember that you can exclude the portfolio posts from the blog page and it will also affect the home page so you have only the blog posts).
Portfolio Posts
The portfolio posts work the same way as above, but you need to select the Portfolio category that we recently created. Now to handle the sliding images (that you can see on the demo) we’re going to use (or be able to use) a couple of Custom Fields:
- For items with the “New” label: insert on the Name field: New Theme Preview and on value specify the URL of the image (I suggest you to use the media library functionality to make sure the images work properly.) The images will be resized at 267px X 161px automatically. So make sure you have a compatible format and dimensions.
- For items without the “New” label: insert on the Name field: Theme Preview and on value specify the URL like explained above.
- Then write a couple of lines for a description on the text editor and use a
<!--more-->tag to make the “Read more” text appear when the image slides out. And right below the more tag you can have the rest of your content :). (Upon request I could make this description coming from another custom field, and I will make the update).
Okay, it looks like we’re good for the portfolio and blog sections. We’re almost done!
Additional Custom Fields
As you may have noticed on the demo of this theme there is a section best suited for powerful messaging to your audience at the top of the content and the sidebar sections. This is actually handled by a Custom Field as well, and it can be applied to both Posts and Pages.
All what you need to do is to add a custom field and on the name type Page Heading and your content on the value field, and your good to go 🙂


FAQ’s
Q/ My logo doesn’t fit well on the layout how may I reposition it?
A/ You need to open the /css/layout.css file and change the values for #header h1 at line 69.
Q/ The timbthumb.php image resize script is not working, how do I fix it?
A/ make sure that the /cache folder has CHMOD 777 permission to make it writeable.
Q/ The favicon and/or custom logo upload function drops me an error, how may I fix it?
A/ Make sure that the /images folder has CHMOD 777 permission to make it writeable.
Q/ I want to use prettyPhoto to show bigger previews of images, how do I make it work?
A/ You need to link your thumb image to the big image and add a rel=”prettyPhoto” parameter to the anchor tag, the markup should be as follow: <a href="link-to-your-big-image" rel="prettyPhoto" title="the image description text"><img src="the-path-to-the-thumb-image" alt="" /></a>
Q/ How do I include videos, iframes or galleries with prettyPhoto?
A/ Please refer to the documentation of this plugin.
Markup docs
If you would have a better idea of how this theme is structure (css, js, html) please refer to the HTMLversion_helpfile.txt file which is the very same file I have provided for the HTML version of this theme ;).
Resources and Credits
Here is a quick list of the resources I used and their links if you need more references:
- Museo Font – free font: http://www.josbuivenga.demon.nl/museo.html
- Cufon YUI – Text replacement: http://cufon.shoqolate.com
- Menu Effect with LavaLamp: http://www.gmarwaha.com/blog/2007/08/23/lavalamp-for-jquery-lovers/
- Dropdown menu with Superfish: http://users.tpg.com.au/j_birch/plugins/superfish/
- Home Page Slider: http://www.karmagination.com/blog/2009/09/24/karmic-flow-0-2-content-slider-for-karmagination-jquery/
- PrettyPhoto – Image Lightbox: http://www.no-margin-for-errors.com/projects/prettyphoto-jquery-lightbox-clone/
- Sliding Boxes: http://buildinternet.com/2009/03/sliding-boxes-and-captions-with-jquery/
PSD Files
I’ve included six psds with this theme to facilitate any design update:
- The main layout = portfolium_master.psd
- The portfolio layout = portfolium_portfolio.psd
- The pages/posts layout = portfolium_secondary.psd
The End
Once again, thank you so much for purchasing this theme. As I said at the beginning, I’d be glad to help you if you have any questions relating to this theme. No guarantees, but I’ll do my best to assist. If you have a more general question relating to the themes on ThemeForest, you might consider visiting the forums and asking your question in the “Item Discussion” section.
To better understand watch this videos: http://www.vimeo.com/15300720 and http://www.vimeo.com/15302658
WP-PageNavi setup:
• Go to Page Navigation Text tab and clear all fields except Text For Current Page and Text For Page
• Uncheck checkbox “Use pagenavi-css.css” and “Always Show Page Navigation”